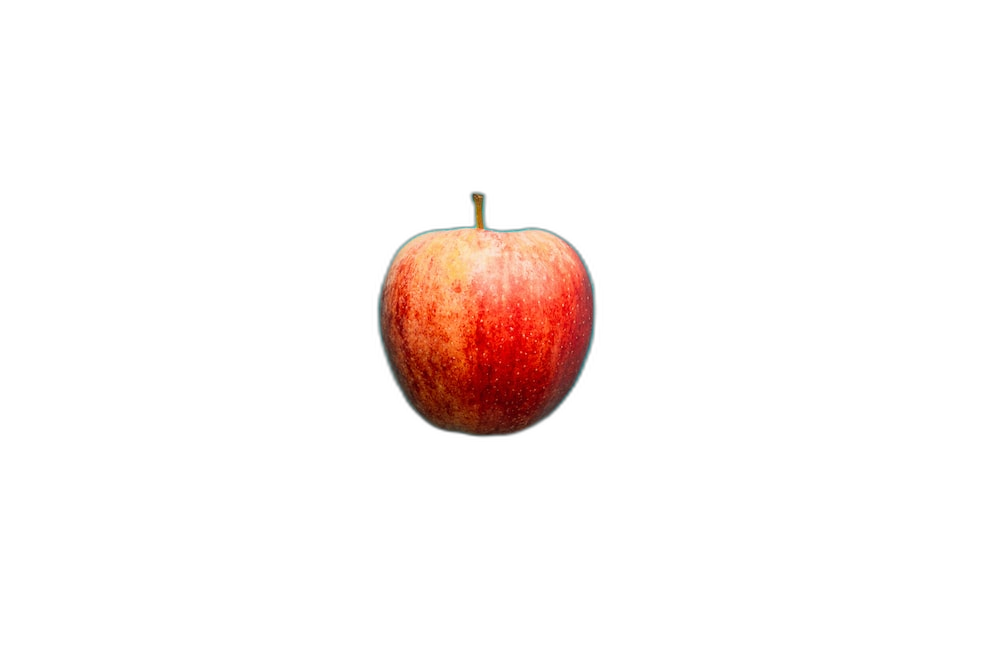
Hello friends, in this article, we will learn how to create an Image background remover in Python. I will first show you a simple program and then you will see a smile GUI made using tkinter. We need to install rembg, you can install rembg using the pip command:
pip install rembgImage background remover in Python program
from rembg import remove
from PIL import Image

input_path = 'input.png'
output_path = 'output.png'

input = Image.open(input_path)
output = remove(input)
output.save(output_path)
Output:
Input image

Output image

Python GUI App to remove background of images
# importing all necessary libraries
import tkinter as tk
from rembg import remove
from PIL import Image
from tkinter import filedialog
from PIL import Image
import os
from tkinter import messagebox

# defining tkinter window
top = tk.Tk()
top.geometry("400x400")
top.title('CopyAssignment')

filename = ''

# function to select file from system
def upload_file():
    global filename
    f_types = [('Jpg Files', '*.jpg')]
    filename = filedialog.askopenfilename(filetypes=f_types)
    if len(filename) > 0:
        b1.config(state='disabled')

# function to remove backgroung of an image and then show message
def Convert(image_name):
    current_working_directory = os.getcwd()
    input_path = filename
    output_path = f'{current_working_directory}\{image_name}.png'
    image_input = Image.open(input_path)
    output = remove(image_input)
    output.save(output_path)
    messagebox.showinfo('Success', 'Image background successfully removed')
    top.destroy()


my_font1 = ('times', 18, 'bold')

# defining tkinter widgets and placing then on tkinter window GUI
l1 = tk.Label(top, text='Background Removal App', width=30, font=my_font1)
l1.grid(row=1, column=1)

b1 = tk.Button(top, text='Select here', height=2, font=('Arial', 20), bg='green', fg='white', command=lambda: upload_file())
b1.grid(row=2, column=1, pady=20)

image_name = tk.StringVar(top)
image_name.set('enter file name')

e1 = tk.Entry(top, textvariable=image_name)
e1.grid(row=3, column=1, pady=20)

b2 = tk.Button(top, text='Convert now', height=2, font=('Arial', 20), bg='green', fg='white', command=lambda: Convert(image_name.get()))
b2.grid(row=4, column=1, pady=20)

top.mainloop()
Output:
Thank you for visiting our website.
Also Read:
- Create your own ChatGPT with Python
- SQLite | CRUD Operations in Python
- Event Management System Project in Python
- Ticket Booking and Management in Python
- Hostel Management System Project in Python
- Sales Management System Project in Python
- Bank Management System Project in C++
- Python Download File from URL | 4 Methods
- Python Programming Examples | Fundamental Programs in Python
- Spell Checker in Python
- Portfolio Management System in Python
- Stickman Game in Python
- Contact Book project in Python
- Loan Management System Project in Python
- Cab Booking System in Python
- Brick Breaker Game in Python
- Tank game in Python
- GUI Piano in Python
- Ludo Game in Python
- Rock Paper Scissors Game in Python
- Snake and Ladder Game in Python
- Puzzle Game in Python
- Medical Store Management System Project in Python
- Creating Dino Game in Python
- Tic Tac Toe Game in Python
- Test Typing Speed using Python App
- Scientific Calculator in Python
- GUI To-Do List App in Python Tkinter
- Scientific Calculator in Python using Tkinter
- GUI Chat Application in Python Tkinter

