Microsoft has released its latest version of the Windows Operating System. This blog will discuss how to Install Python in Windows 11 along with testing and setting up the interpreter. There will step-by-step guide without leaving any step behind. So, this blog is targetting absolute beginners as well as references for advanced programmers and users.
Steps to Install Python in Windows 11:
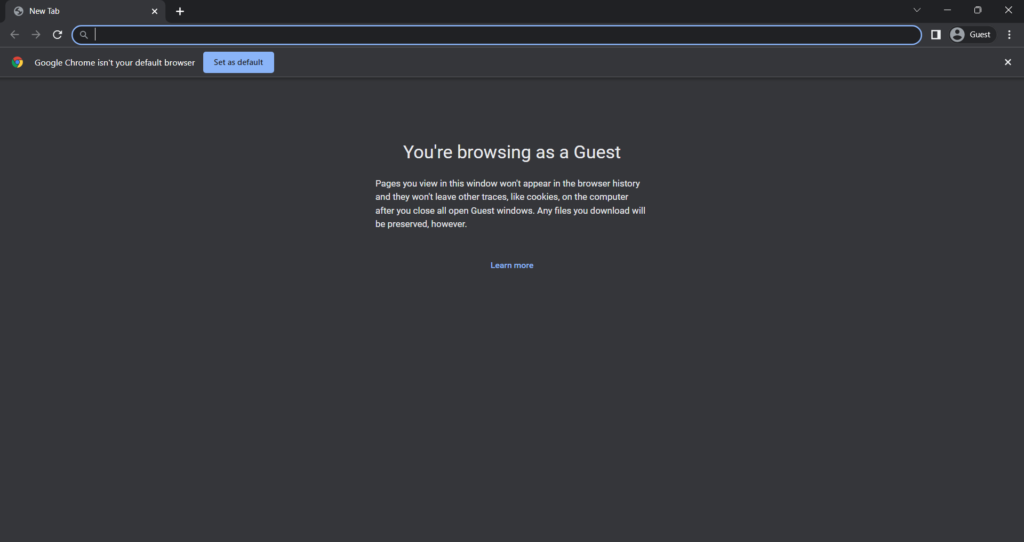
Step 1: Open a Browser, we are using Chrome
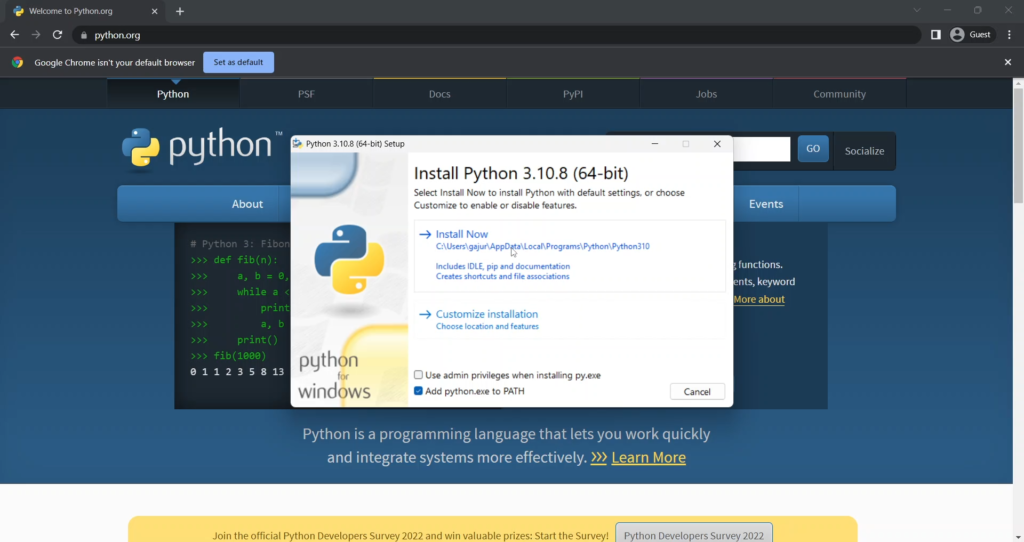
Step 2: Open this website: https://python.org/. This is the official website to download python in windows 11 or any other operating system

Step 3: Hover on the Downloads Menu and click on Download the latest version
The website will automatically detect your operating system. During the writing of this blog, the latest version is 3.10.8.

The download will automatically start. Click on the downloaded exe file to execute it. This will start the installer program.

Step 4: Installing Python
After you click the downloaded file, the installation will start. First, tick the Add python.exe to PATH option. This will add python.exe file in an environment variable.

Step 5: Click on Install Now
The installation will start now. This will take some time. So, be patient and let the installation complete. You can do other work on your computer while Python is being installed.

The installation will be complete in some time.

Step 6: Python installation and setup are completed
Now, the following screen should be displayed. Click on Close.

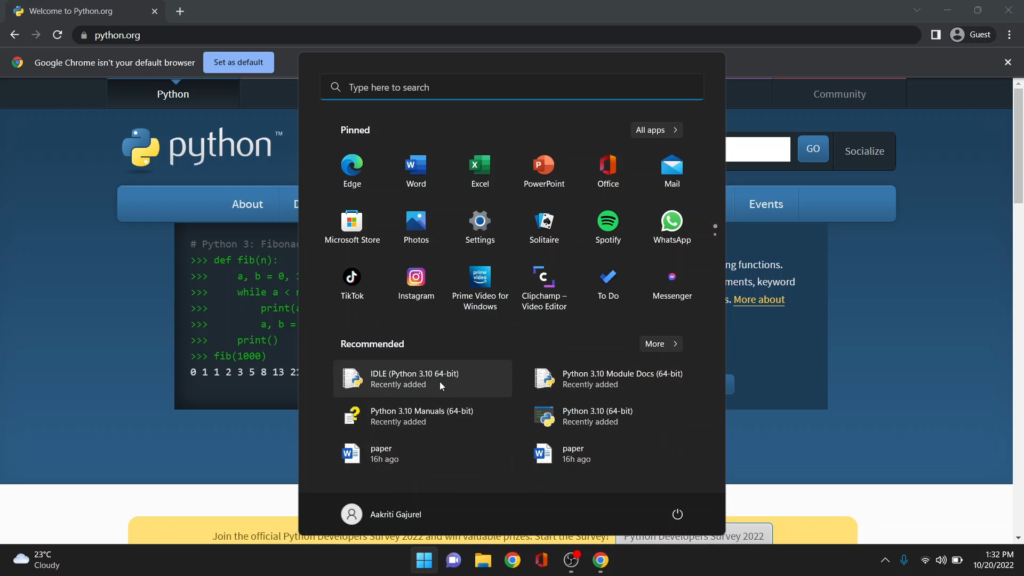
Step 7: Click on the Windows Icon to open the start menu

Step 8: The latest installed program will be displayed in the Recommendation. Click on IDLE. IDLE is the default code editor and Integrated Development Environment of Python which comes automatically with the python interpreter.
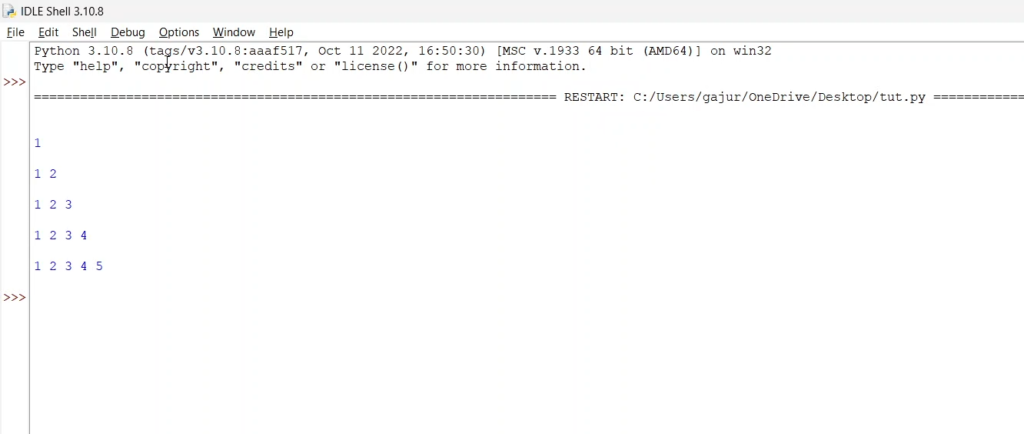
Step 9: You can see as in the following picture. This is the Python IDLE Shell.

Step 10: Click on the File menu and “New File”. This will open a new window where you can write actual Python Code.

Step 11: Write the code in this code editor you are displayed.


Step 12: Click Ctrl+S to save the file. You can give the file any name. After writing the name, click on “Save”.

Step 13: To run the code, click on Run and “Run Module”. You can also press F5 to run the code.

Step 14: This will run the code and display the output in the Python IDLE Shell.
Conclusion
Yay, congratulations. We have successfully installed and set up Python in Windows 11. There are many blogs on our website for beginners as well as advanced Python enthusiasts. You can check blogs on Python and related technologies like Selenium, Turtle, PyGame, Machine Learning, Artificial Intelligence, etc.
KEEP LEARNING, AND KEEP CODING.
Also Read:
- You Can Now Run AI Fully Offline on Your Phone — Google’s Gemma 4 Just Changed Everything
- I Built a 24×7 AI Blogging System for WordPress Using Python (Free) — Full Code Inside
- This Reddit User “Hacked” AI With Simple Tricks… And The Results Are Insane
- One “rm -rf” Command Almost Wiped Out $100 Million Worth of Toy Story 2
- How to Make Money with ChatGPT in 2026: A Real Guide That Still Works
- PicoClaw vs OpenClaw: The Tiny AI That Could Replace Powerful AI Agents
- Oracle Layoffs 2026: People Woke Up to an Email… and Lost Their Jobs Instantly
- X’s New Video Update Is Breaking a Basic Feature — And Users Are Not Happy
- The Most Shocking Military Tech Yet: Robot Soldiers That Could Change Warfare Forever
- Sora Shutdown: The Reality Check That Shook AI Video — And What Comes Next
- Aya Expanse supports multiple languages for diverse global applications
- Alibaba releases Page Agent on GitHub for public access
- Google Sheets Gemini reaches new levels of performance and accuracy
- Artificial intelligence boosts cardiac care in rural Australian communities
- NVIDIA GTC 2026 Offers Insights into Future Artificial Intelligence Developments
- Google DeepMind Updates Satellite Embedding Dataset with 2025 Data
- Enhancing hierarchical instruction in advanced large language models
- Meta supports community development near its data centers through grants
- Exploring the world of underwater robotics through coding techniques
- ABB Robotics partners with NVIDIA for large scale physical AI solutions
- Why All AI Models Are Slowly Becoming the Same Model
- Aam Aadmi vs Corrupt System: How ChatGPT Helped One Guy Expose Govt Fraud, The Story: “Ravi and The Missing Light Pole”
- ChatGPT Asked a person to commit suicide to solve the problem
- Viral Moment: China’s AgiBot X2 Makes History With World’s First Webster Backflip
- Terminator Rising: Albania Hands Power to AI, Echoing a Nightmare of Human Extinction
- What Is Albania’s World-First AI-Generated Minister and How Does It Work?
- Does ChatGPT believe in God? ChatGPT’s Personal Opinion
- ChatGPT vs Human: The Breath-Holding Chat That Ends in “System Failure”
- What Is Vibe Coding? The Future of No-Code Programming and Its Impact on Software Developers
- Struggling to Generate Ghibli-Style AI Images? Here’s the Real Working Tool That Others Won’t Tell You About!